zombies aren't real campaign cities map rewards · 6 CITIES · 5 STAGES EACH · 30 SCENARIOS
City Campaigns, Rescue Badges & Tab-Menu Map Modifiers
Tactical campaign briefing for all 6 pre-loaded real-world cities in Zombies Aren't Real (Boston, Miami, Venice, Los Angeles, New York, and Paris), their permanent Tab-menu completion rewards, and the civilian rescue thresholds for Bronze, Silver, Gold (>17%), Diamond (>25%), and Ruby (80%+) badges.
Terrain & Choke Profile: Harbor bridges, compact residential blocks, and river crossings.
BOSTON CLEAR: Unlocks Boston Tab-menu modifier · Stage 1–5 Harbor Badge
Ideal opening campaign for Flawless (40.1%) and Daring (5.7%, 0 Safe Zones on Stage 1). String cheap-house Garrisons and Automated Turrets across the harbor bridgeheads to slice the map into isolated sectors.
CAMPAIGN 02 // US-FL
Miami Campaign
5 STAGES
S1: Barrier Key
S2: Causeway Line
S3: Dual Island
S4: Canal Surge
S5: Coastal Siege
Terrain & Choke Profile: Coastal barrier islands, long causeway bridges, and wide water channels.
Fortify causeway bridgeheads with small-footprint Garrisons, sever secondary bridges with a Bomber Airstrike or Cruise Missile for Choke Point (83.4%), and use Battleship 1,400.0m naval shells along the coast.
CAMPAIGN 03 // IT-VE
Venice (Italy) Campaign
5 STAGES
S1: Canal Ring
S2: Lagoon Bridges
S3: Swimmer Wave
S4: Grand Canal
S5: Island Citadel
Terrain & Choke Profile: Dense canal network, island districts, and narrow pedestrian bridges.
VENICE CLEAR: Unlocks 'Reduced Bridge Health' Tab-menu modifier across all maps
Best campaign for Sparkly (7.0%), Masterful (0.7%), and No Friendly Fire (0.5%). Can achieve 90%+ civilian rescue (Ruby badge) without drawing a single Safe Zone by lining canal bridges with cheap-house Garrisons and Snipers watching for swimmers.
CAMPAIGN 04 // US-CA
Los Angeles (California) Campaign
5 STAGES
S1: Suburban Grid
S2: Dry Brush
S3: Boulevard Push
S4: Sprawl Outbreak
S5: Basin Defense
Terrain & Choke Profile: Sprawling suburban grids, wide boulevards, and dry grass expanses with few natural water chokes.
LOS ANGELES CLEAR: Unlocks LA Tab-menu modifier · Stage 1–5 Basin Badge
Because open suburban grids lack river bottlenecks, anchor compact Safe Zones around dark-blue Broadcast + Police Pursue buildings, pause-drop Paratroopers at 00:01, and ignite dry grass corridors with Fire Mortars or Fire Bombs.
CAMPAIGN 05 // US-NY
New York Campaign
5 STAGES
S1: Borough Crossing
S2: Avenue Grid
S3: Mid-Town Surge
S4: River Spans
S5: Manhattan Core
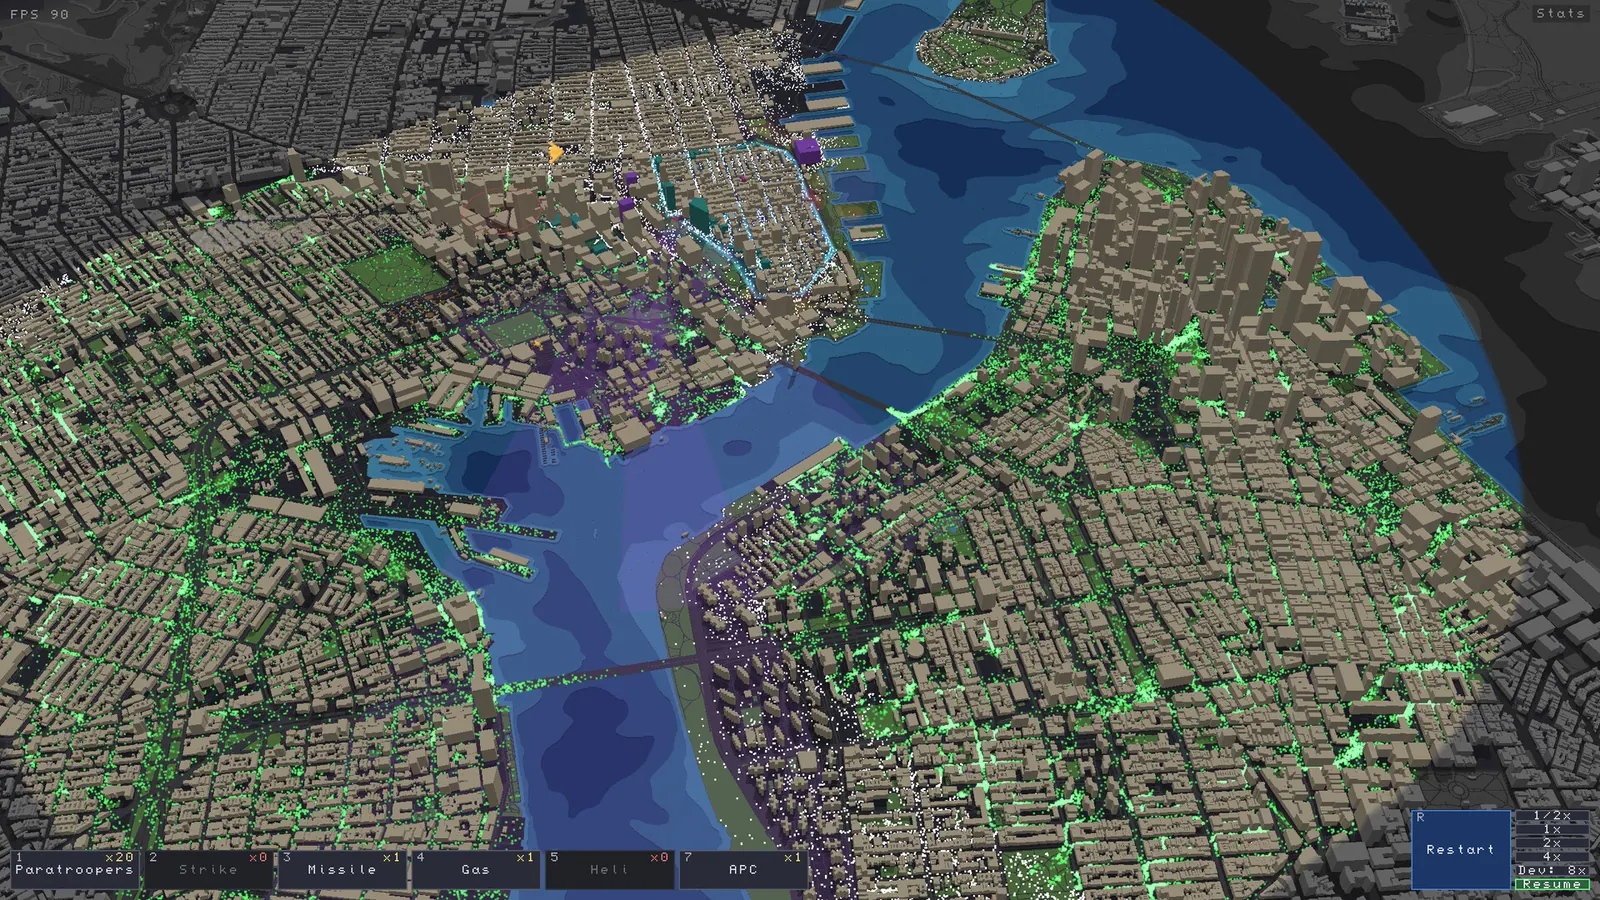
Terrain & Choke Profile: High-density Manhattan avenues, tall skyscrapers, and major river bridges.
NEW YORK CLEAR: Unlocks NYC Tab-menu modifier · Stage 1–5 Metro Badge
Never garrison wide-footprint skyscrapers—their footprint cost drains your entire Planning Phase budget. Garrison small row houses instead, place Snipers on tall towers buffed by a +50% Radio Tower (600.0m range), and wall off narrow avenue corridors.
CAMPAIGN 06 // FR-75
Paris Campaign
5 STAGES
S1: Left Bank
S2: Seine Bridges
S3: Radial Plazas
S4: Arrondissement
S5: Ile-de-France
Terrain & Choke Profile: Seine river bisection, radial boulevards, and dense Haussmann courtyard blocks.
PARIS CLEAR: Unlocks Paris Tab-menu modifier · Stage 1–5 Seine Badge
Use the Seine river as a primary bisecting barrier, demolish or garrison the river bridges, and pause-deploy Paratroopers at radial boulevard hubs so outbreaks cannot fan out into multi-avenue blocks.
Lock down causeways with cheap house Garrisons on both bridgeheads, demolish secondary bridges for Choke Point, and leverage Battleship naval fire.
Venice (Italy) Campaign
Pre-Loaded City Campaign
UNLOCK: Unlocks 'Reduced Bridge Health' Tab-menu modifier across all maps
Can achieve 90%+ civilian rescue (Ruby badge) without building a single Safe Zone by stringing overlapping cheap-house Garrisons across canal bridges and watching for swimmers.
Because open grids lack bridge bottlenecks, combine Broadcast + Police Pursue Safe Zones with Fire Bombs/Fire Mortars on grass corridors and early Paratrooper drops.
Avoid garrisoning massive footprint skyscrapers (too expensive); instead garrison small row buildings, mount Snipers on tall towers with a +50% Radio Tower buff, and wall off long narrow avenues.
Use the Seine river as a natural barrier, blow or garrison the river bridges, and deploy Paratroopers at radial boulevard intersections during the initial pause.
Bronze & Silver Scenario Badges
Scenario Rating Tier
UNLOCK: Clears the stage and unlocks Beginner's Luck (90.8%) / Back from the Brink (84.8%)
Focus on surviving until all zombies are eliminated; even if a Safe Zone wall is breached, surviving civilians in secondary zones secure the clear.
Gold Scenario Badge
Scenario Rating Tier
UNLOCK: Unlocks Golden (83.4%) for 1 stage and Glittery (16.0%) for all 5 stages in a campaign
Anchor at least one Safe Zone around a dark-blue Broadcast building and ring cheap adjacent houses with upgraded Garrisons.
Diamond Scenario Badge
Scenario Rating Tier
UNLOCK: Unlocks Freshly Cut (75.1%) for 1 stage and Sparkly (7.0%) for all 5 stages in a campaign
Pause at Battle Phase start to drop Paratroopers on outbreak spawns and set Police stations to Pursue so infections never reach high-density blocks.
Ruby High-Rank Badge
Scenario Rating Tier
UNLOCK: Top-tier scenario mastery badge and Top 100 leaderboard placement
Skip expensive Safe Zone walls on choke-heavy maps; manipulate outbreak spawn locations by adjusting a single Garrison during planning, then suppress all spawns within 30 seconds using Paratroopers and unbroken Garrison lines.
Dense canal network, island districts, and narrow pedestrian bridges
Can achieve 90%+ civilian rescue (Ruby badge) without building a single Safe Zone by stringing overlapping cheap-house Garrisons across canal bridges and watching for swimmers.
Sprawling suburban grids, wide boulevards, and dry grass expanses with few natural water chokes
Because open grids lack bridge bottlenecks, combine Broadcast + Police Pursue Safe Zones with Fire Bombs/Fire Mortars on grass corridors and early Paratrooper drops.
High-density Manhattan avenues, tall skyscrapers, and major river bridges
Avoid garrisoning massive footprint skyscrapers (too expensive); instead garrison small row buildings, mount Snipers on tall towers with a +50% Radio Tower buff, and wall off long narrow avenues.
Seine river bisection, radial boulevards, and dense Haussmann courtyard blocks
Use the Seine river as a natural barrier, blow or garrison the river bridges, and deploy Paratroopers at radial boulevard intersections during the initial pause.
80%+ of city civilians saved (Leaderboard Top Tier)
All Campaign and Sandbox maps
Skip expensive Safe Zone walls on choke-heavy maps; manipulate outbreak spawn locations by adjusting a single Garrison during planning, then suppress all spawns within 30 seconds using Paratroopers and unbroken Garrison lines.
Verified City Campaign Choke Point & Hero Captures
City Campaign River & Bridge Choke Point Defense ScreenshotUsing river bridges and water barriers as high-efficiency choke points across the 5-stage city campaigns.
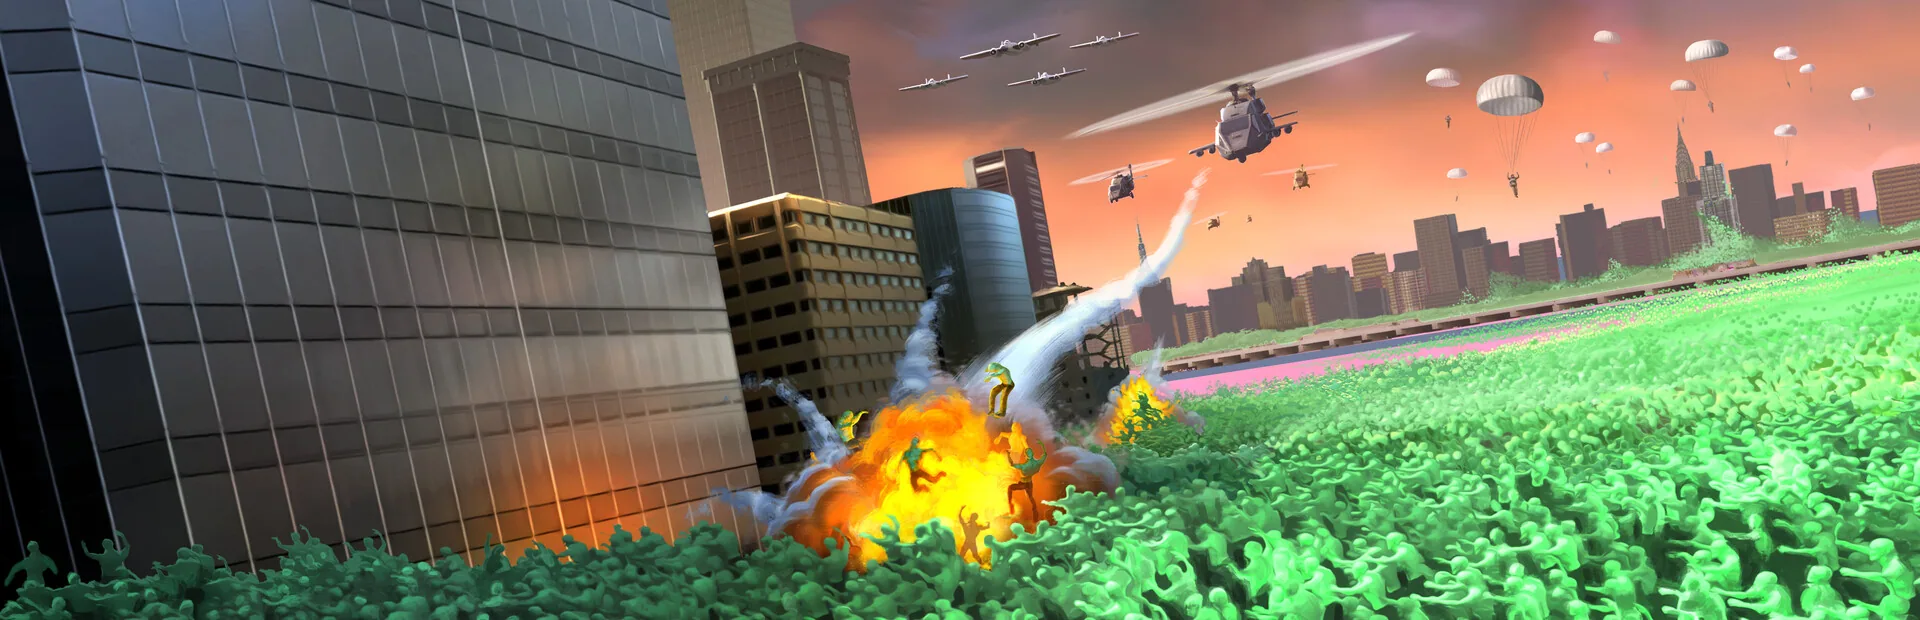
Zombies Aren't Real Wide Library Hero BannerOfficial panoramic Steam library hero banner for Zombies Aren't Real.